How It Works
Everything you need to know about getting a fire sprinkler system in your new home.
If you’ve never dealt with fire sprinklers before, here’s the short version: it’s simpler than you think. We handle the design, the permit, and the installation. You don’t need to become an expert in fire code. That’s our job.
Here’s the full process, step by step.
Step-by-Step Process
You Find Out You Need Sprinklers
Most homeowners learn about the fire sprinkler requirement during the permitting process. Your builder, architect, or the building department will let you know. This is normal for new construction in Seattle and most Eastside cities. It’s code, not optional.
Don’t stress. This is what we do every day.
Send Us Your Floor Plans
Email your floor plans to geoff@raincityfireprotection.com or use the form on our contact page. That’s all we need to get started.
We’ll review the layout, look at ceiling types, check the water supply situation for your property, and put together a quote. Most quotes go out within 48 hours.
We Design Your System
Once you approve the quote, we produce a full set of design drawings — including sprinkler head locations, pipe routing, and hydraulic calculations. Everything is designed to NFPA 13D (the residential fire sprinkler code) and your local jurisdiction’s specific requirements.
Geoff is NICET Level 2 certified, which means the design work is done by someone who knows the code inside and out.
We Pull the Permit
We prepare and submit the permit application and design drawings to your local building department. This includes SDCI in Seattle, or the equivalent department in Bellevue, Kirkland, Redmond, or whichever city your project is in.
Permit review timelines vary by jurisdiction, but we submit quickly so we’re not the ones holding up your schedule.
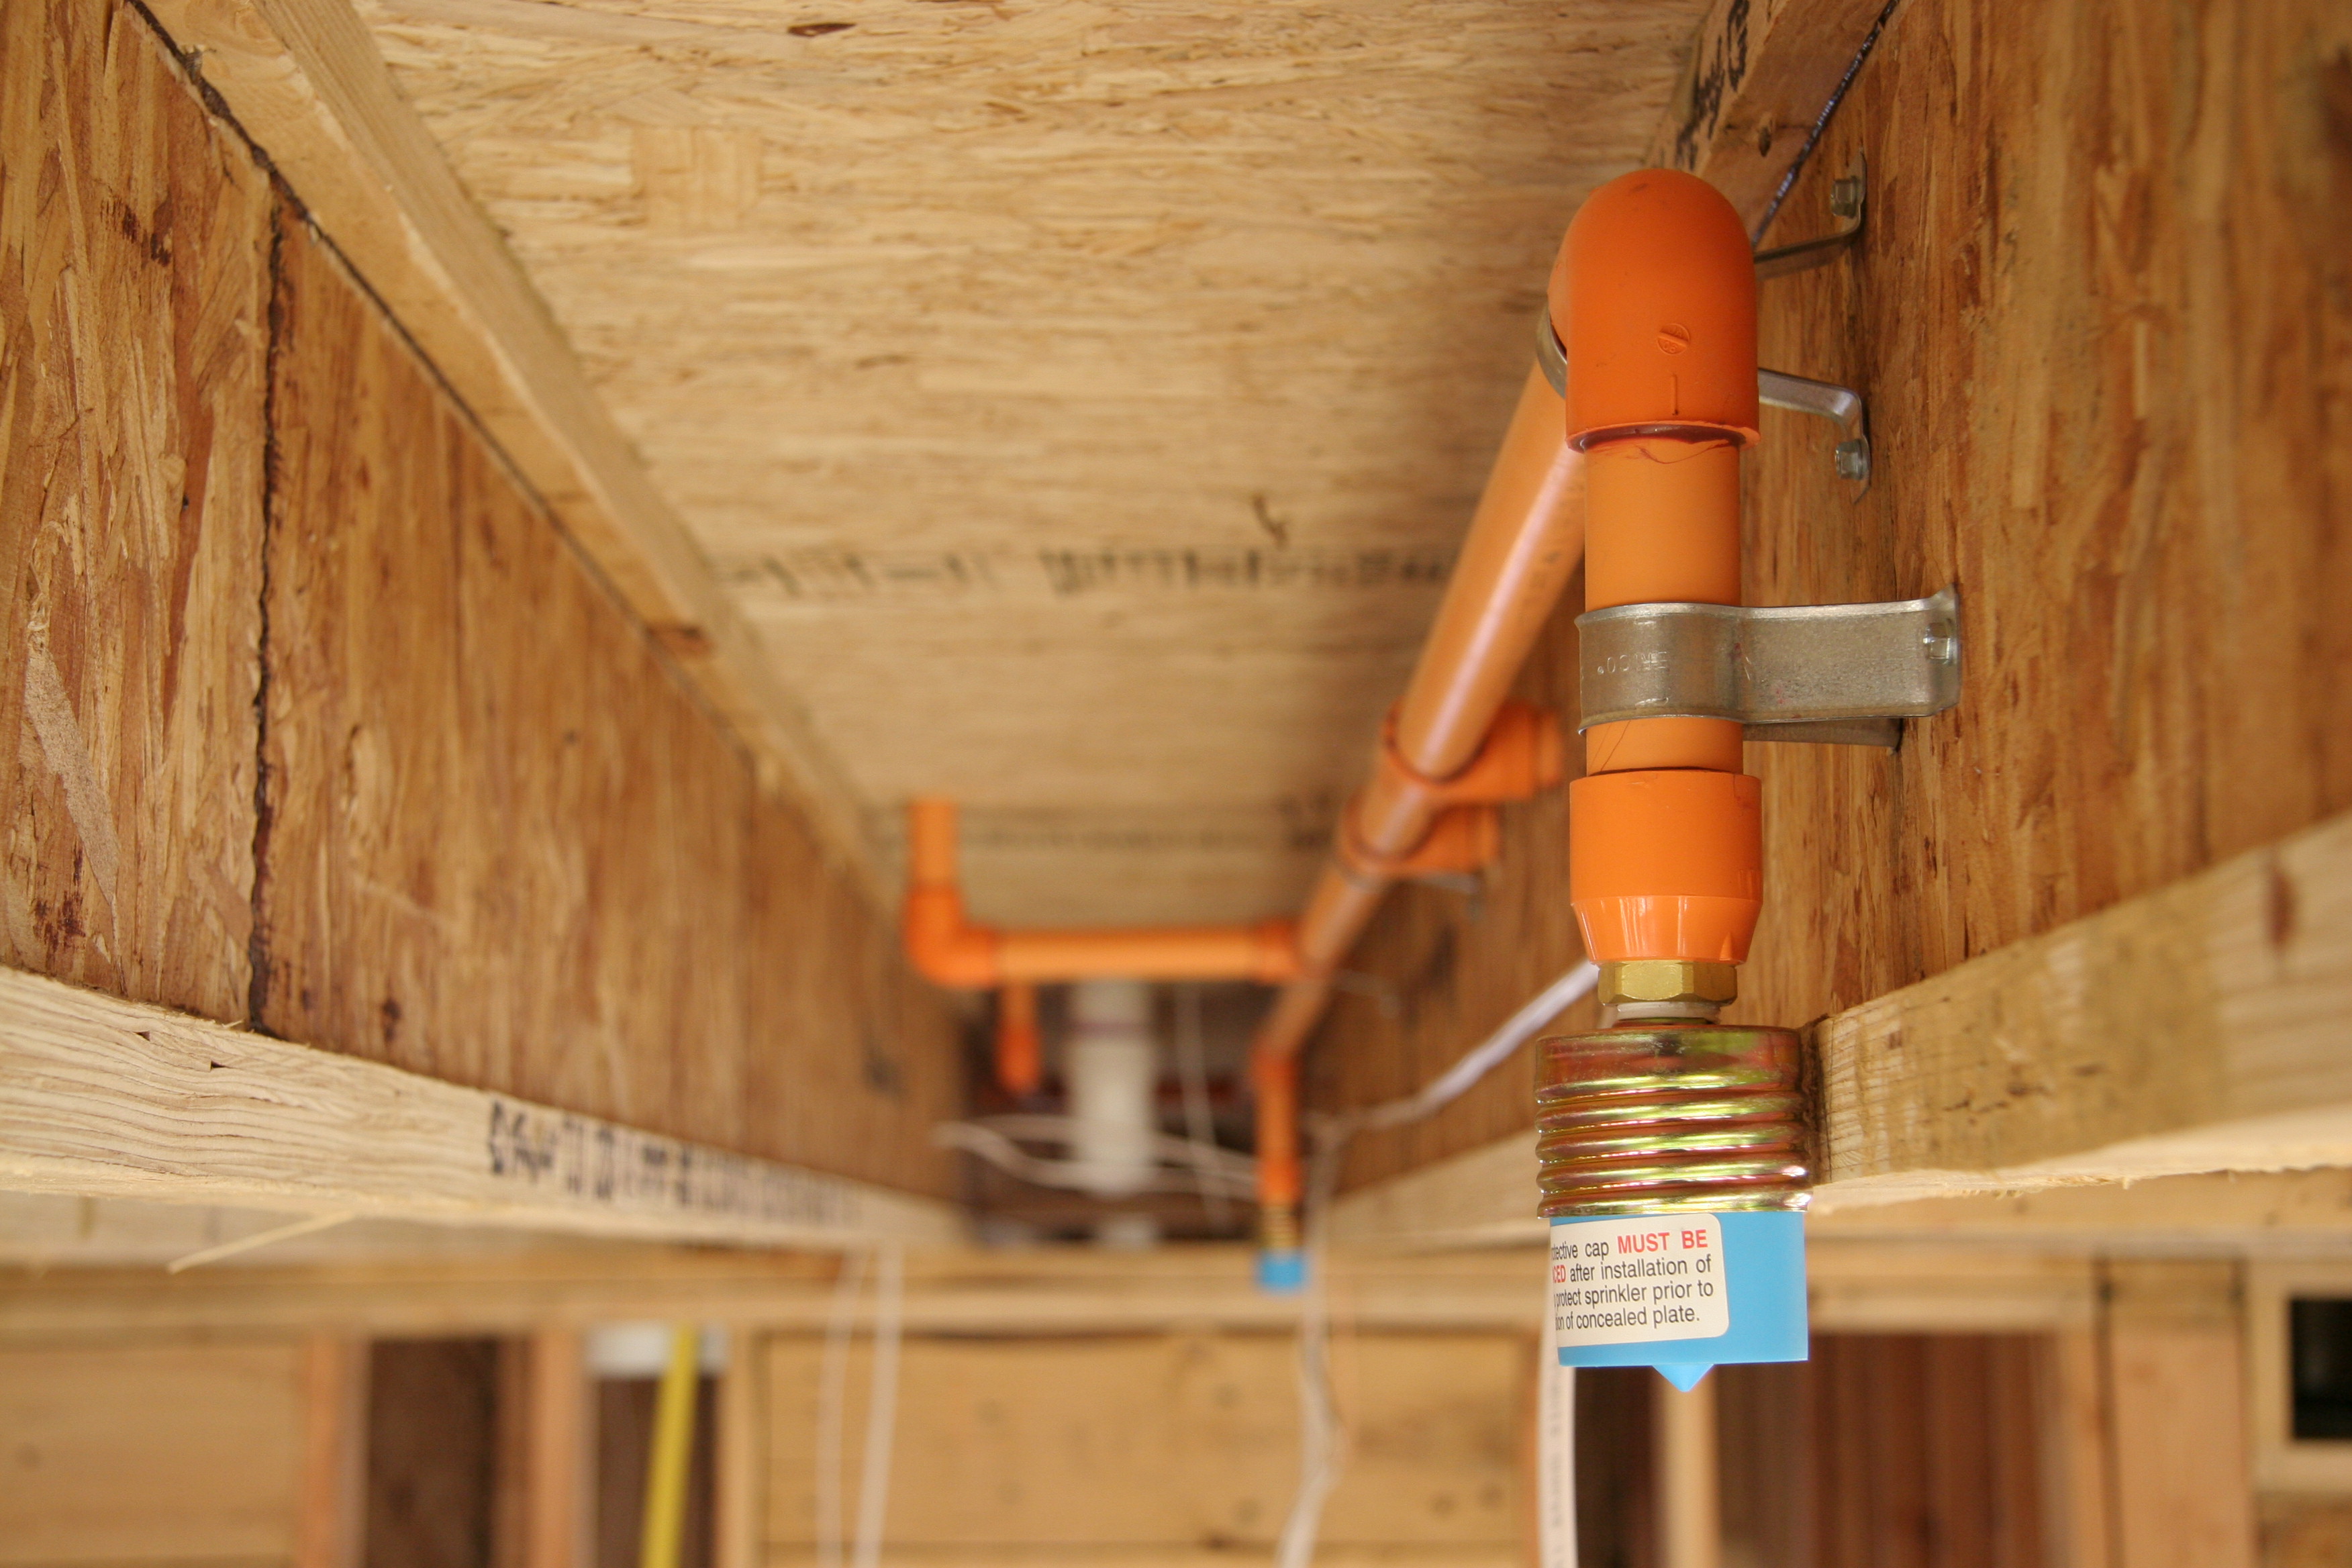
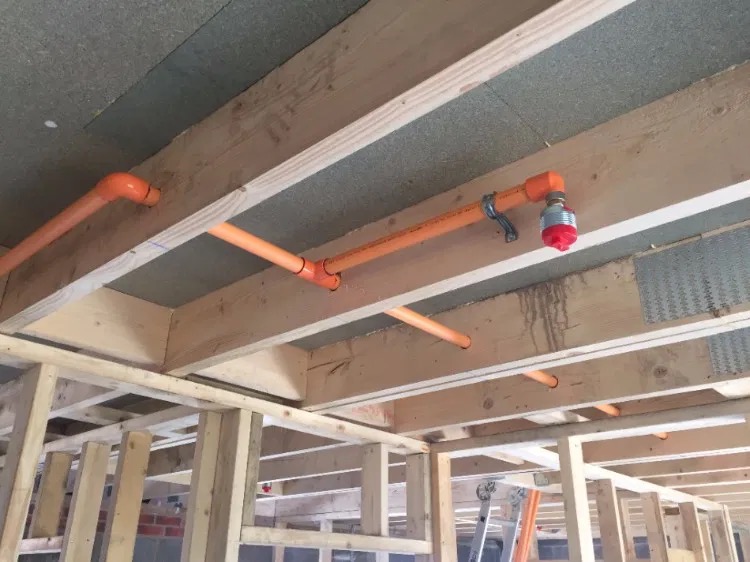
Rough-In Installation
This happens during the framing stage of construction, before insulation and drywall go in. Our crew runs the pipe through the framing, installs the connections, and positions everything for the final head placement.
Rough-in typically takes 3–5 days for a single-family home. We coordinate with your builder to fit into the construction schedule, and we leave the site clean and ready for the next trade.
Trim-Out
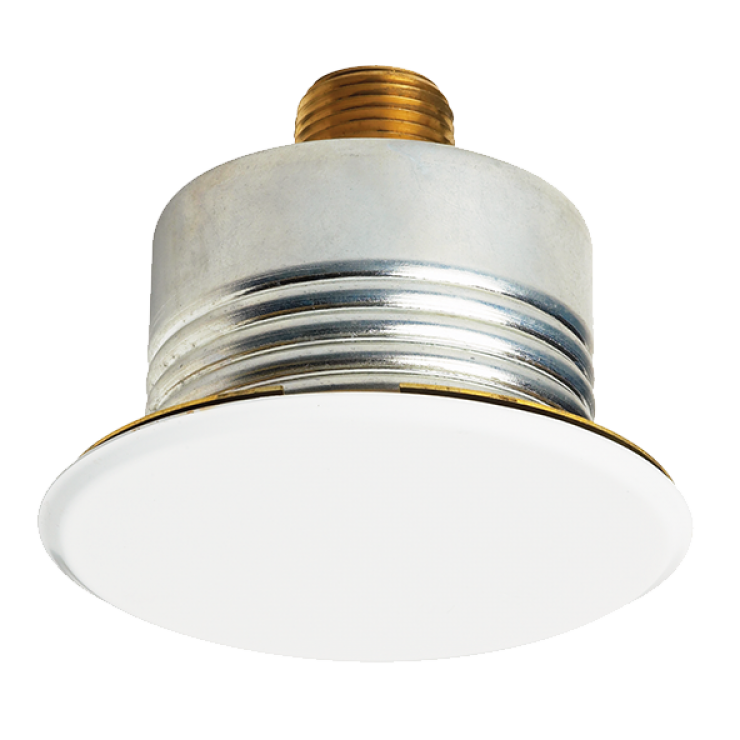
After drywall and paint are done, we come back for trim-out. This is when we install the actual sprinkler heads. We use concealed pendant heads with flat cover plates that sit flush with your ceiling and get painted to match. They line up with your lights, so everything looks intentional and clean.
Trim-out usually takes a half day.
Testing and Inspection
We test the entire system, then schedule the final inspection with the fire marshal. We walk the inspection with them, handle any questions, and deliver the sign-off documentation.
Once the system passes, you’re done. Fire protection is checked off the list, and you’re one step closer to moving in.
Timeline at a Glance
After you send plans
24–48 hours
After quote approval
5–7 business days
After design completion
Varies by city (1–4 weeks)
During framing
3–5 days
After drywall and paint
Half a day
After trim-out
Scheduled with fire marshal
What You'll See When We're Done
This is what a finished Rain City install looks like: concealed heads, flush with the ceiling, nearly invisible. We use CPVC fire sprinkler pipe and concealed pendant heads specifically because they deliver a clean, residential finish. Your dream kitchen shouldn’t have ugly sprinkler heads ruining the ceiling.
Ready to get started?
Send us your floor plans and we'll have a quote back to you within 48 hours.